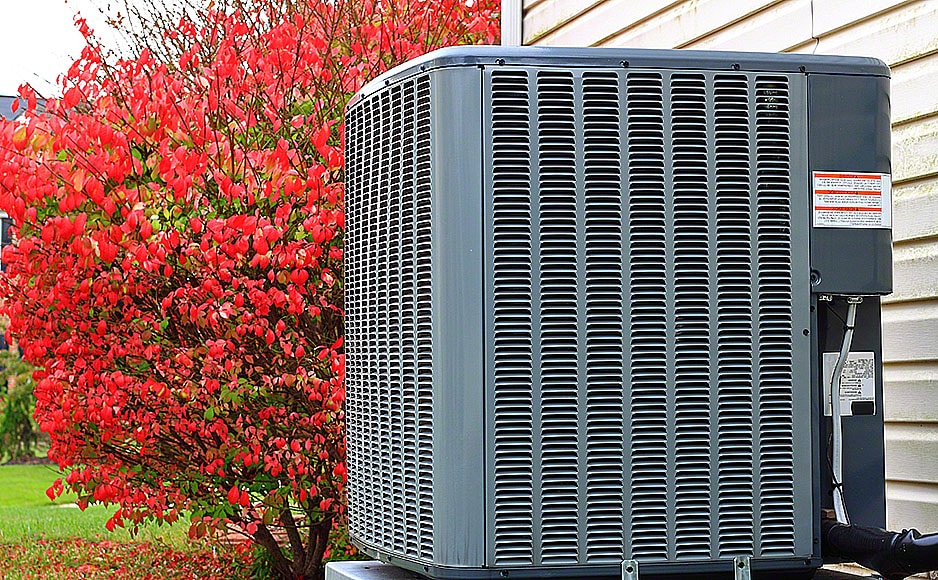
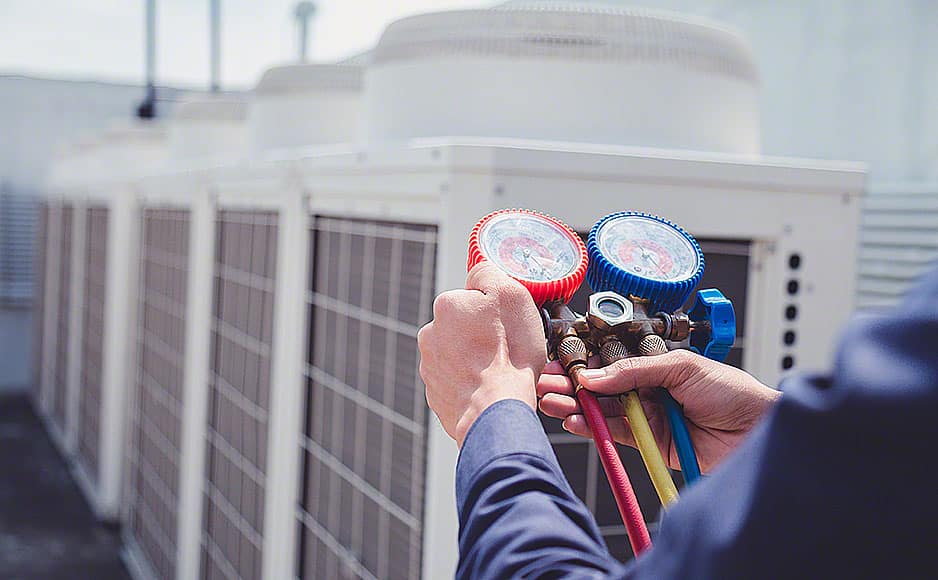
For air conditioners experiencing refrigerant leakage, one of the common symptoms emerge in the form of vapor collected from the air freezing at the evaporator coil. If you ignore air conditioning service repair, this can cause further issues. Here is a step by step on how to fix it.
Visually Inspect The Air Conditioner For Signs Of Freezing Coil
In order to first determine that you have a problem, you need to confirm it via visual inspection. Check out for signs of frozen water in and around the air conditioner unit. To get a better look, remove the front flap to get an unhindered view at the evaporator coil. If you can see signs of frozen water, you have a problem. Proceed on to the next step.
Turn Off The Air Conditioner At The Thermostat As Precaution
Water in or near electronics is a serious safety hazard. In order to avoid any further damage, turn off the main power supply to the air conditioner if you notice ice particles around your unit. Even without the risk of an electrical short circuit, a leaking AC unit if allowed to continue operating as is, can seriously degrade the overall lifespan of your unit.
Let The Air Conditioner Sit Idle For A While To Allow Thawing
Before you proceed with any remedy for your issue, it is important to first remove all the ice accumulated onto the coil, and the best way to do that is to do nothing. That’s right, do not poke the thing with anything as you risk damaging it personally. With the air conditioner turned off in the last step, the ice will thaw and drip down as water on its own in a few hours. Do make sure to put a pan underneath to collect this water.
Gently Wipe The Evaporator Coil To Remove Any Vapor Left
Once the ice has sufficiently melted off, you can dab the evaporator coil with a soft cloth to get rid of any moisture that may seep deeper into the electronics board and fry it when you turn your unit back on.
Check The Air Filter To Make Sure That There Is No Blockage
With the coil dry, you now have a clear view of the internals and can diagnose any issues that may seem to be leading to the problem at hand. Remove the air filter from inside the air conditioner installed at the air inlet and inspect for any blockage due to dust and debris removal. This is in case your filter is still in a good enough condition to last a bit longer.
Replace Any Damaged Filter Or Clean & Dry The Existing One
If your air filter is more than two years old, chances are it has run out of its lifespan and lost its capability to filter incoming hair particles. If that is the case, promptly arrange for a replacement and install it before turning your AC back on.
See If There Is Any Dirt Accumulation On The Evaporator Coil
The other thing that you must ensure when inspecting inside the unit is to see if the coil is blocked due to dirt and dust accumulation, which is also one of the reasons behind frozen coil issues. If you see any gunk on it, move on to the next step.
Gently Scrub The Coil Clean With Detergent & Inspect Leaks
To get rid of the accumulated grime on the evaporator coils, gently scrub it with light detergent water, making sure not to damage the coil itself in the process. Doing so, you will also be able to tell if there are any leaks in the coil if you see bubbles forming.
If you do detect any such leaks, contact an air conditioner repair contractor immediately. Moreover, to avoid such a situation in the future, always make sure to book an inspection by a certified HVAC repair service once every six months. Keep in mind that prevention is always better than cure. A little bit of care will go a long way. Furthermore, scheduled maintenance and repair will keep your HVAC unit in top condition. It will cool your place quickly and might help you save some money on power bills. airone


